
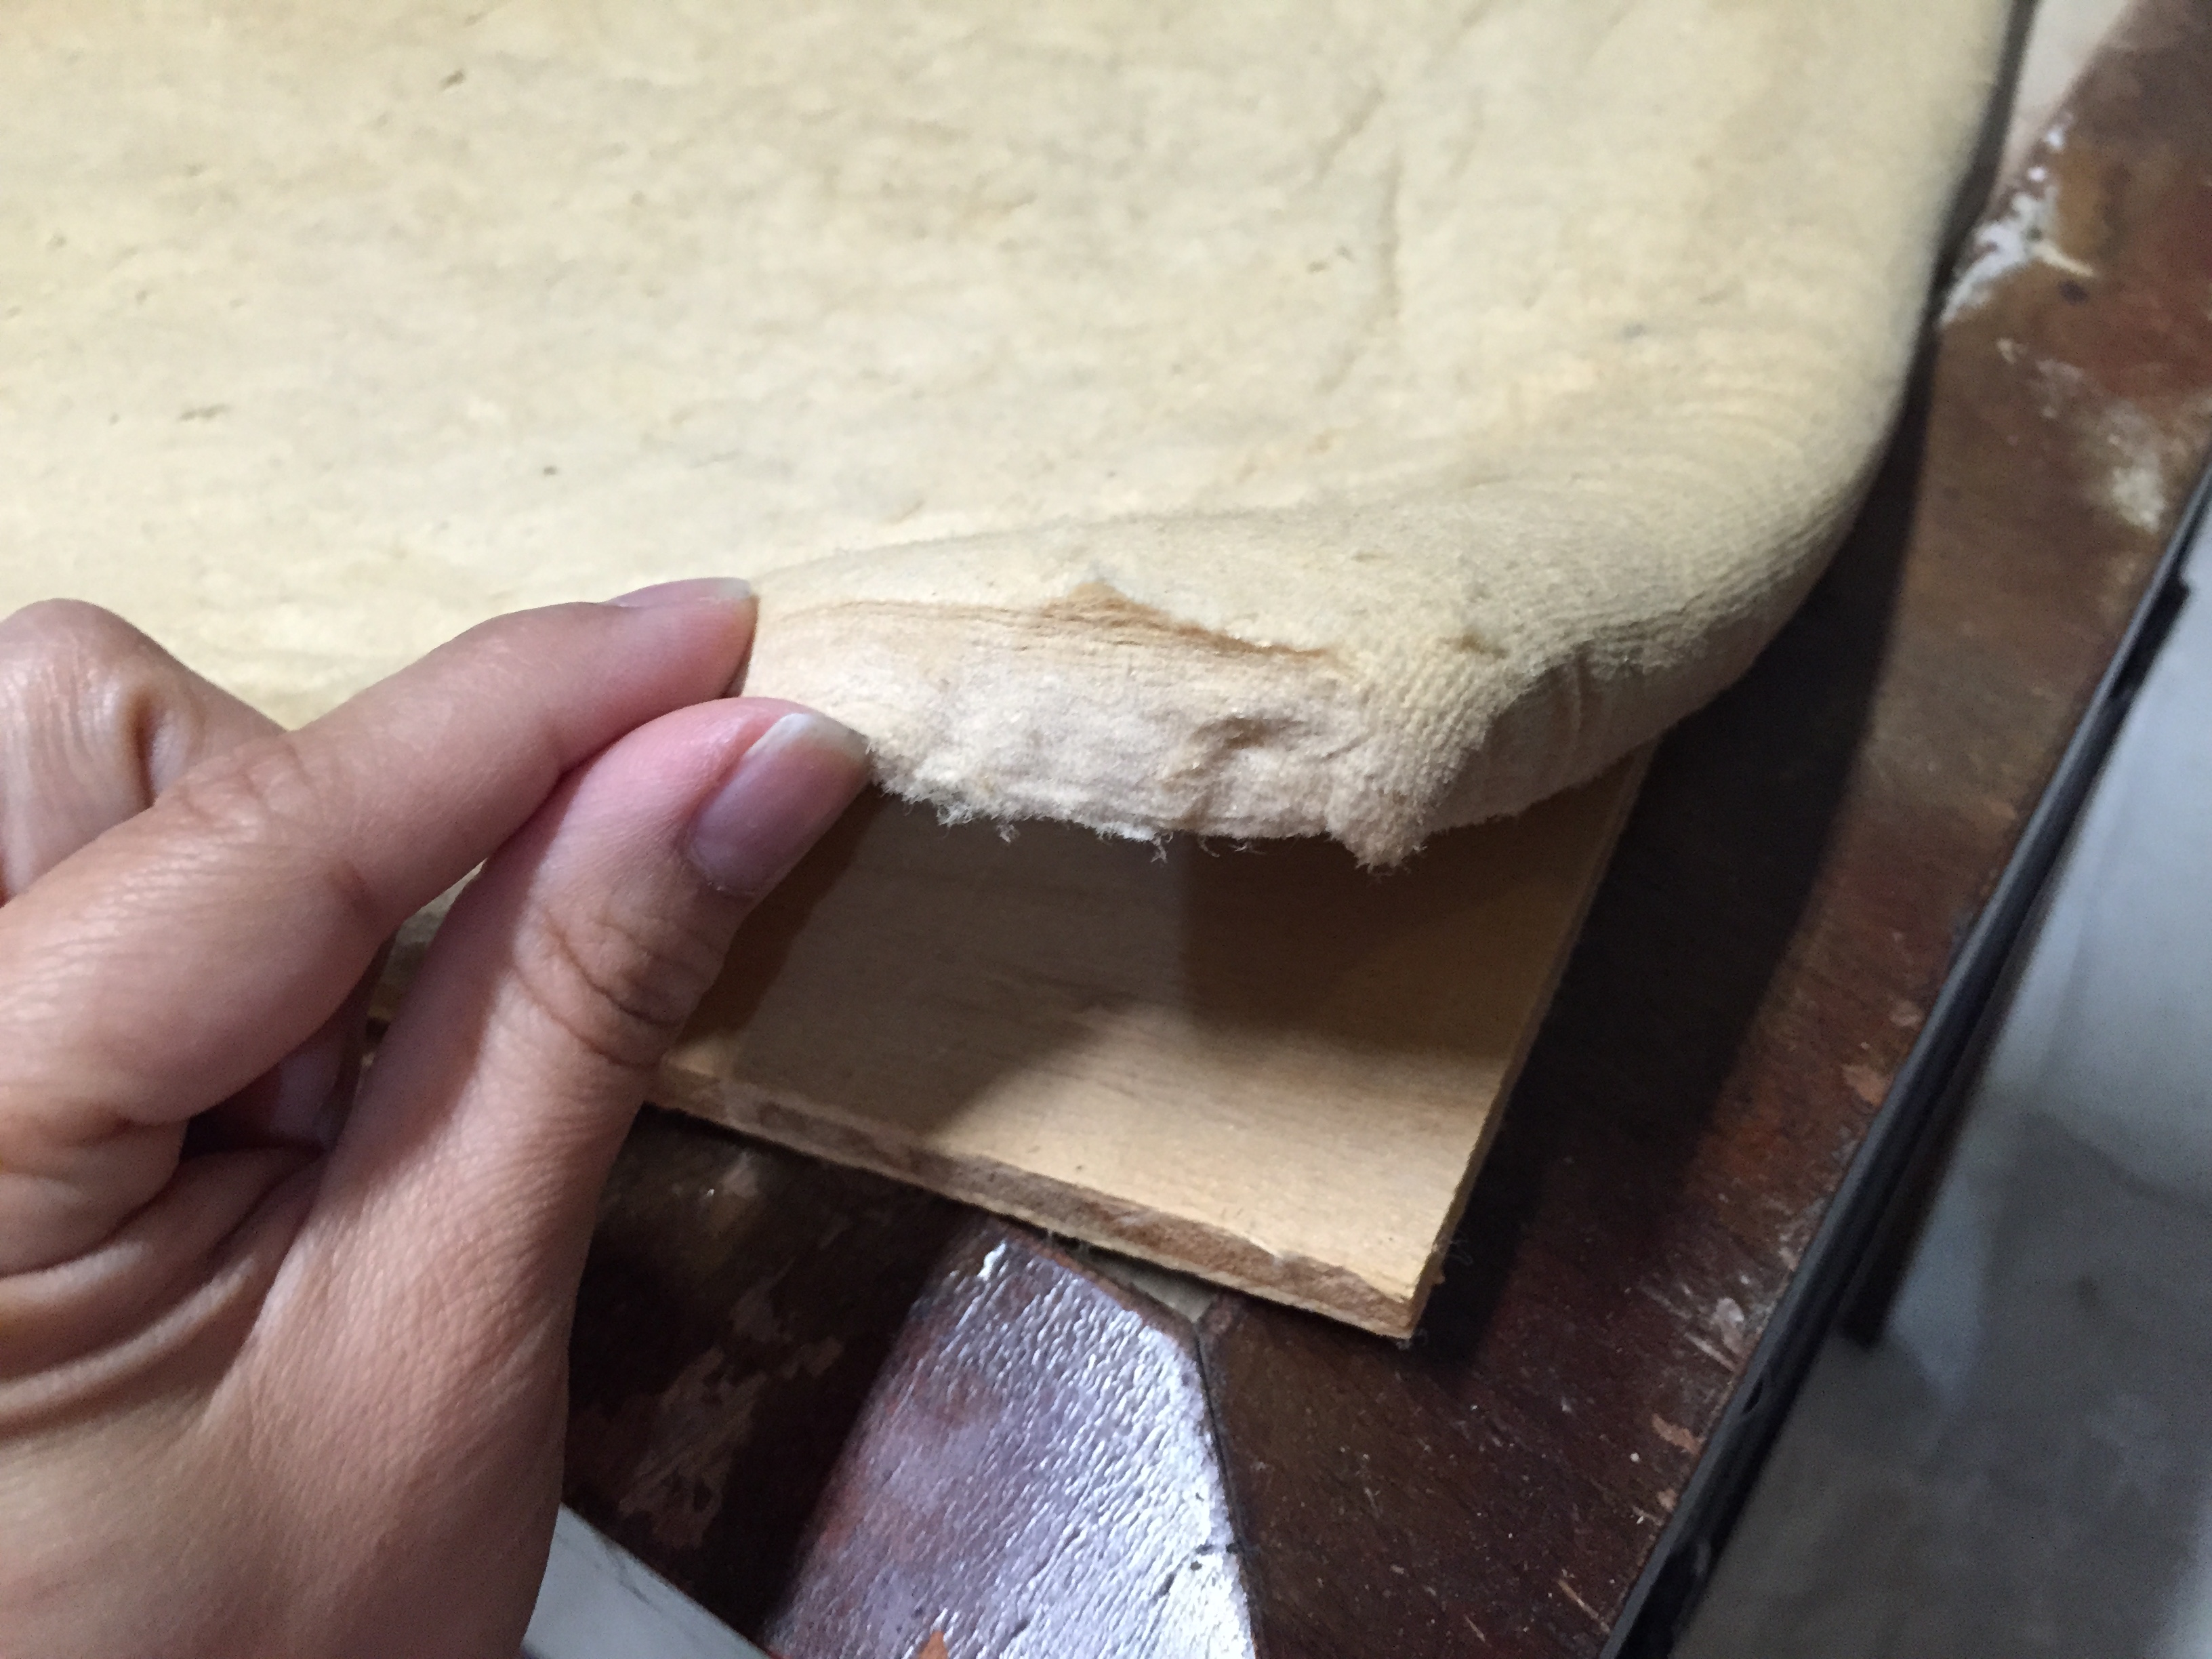
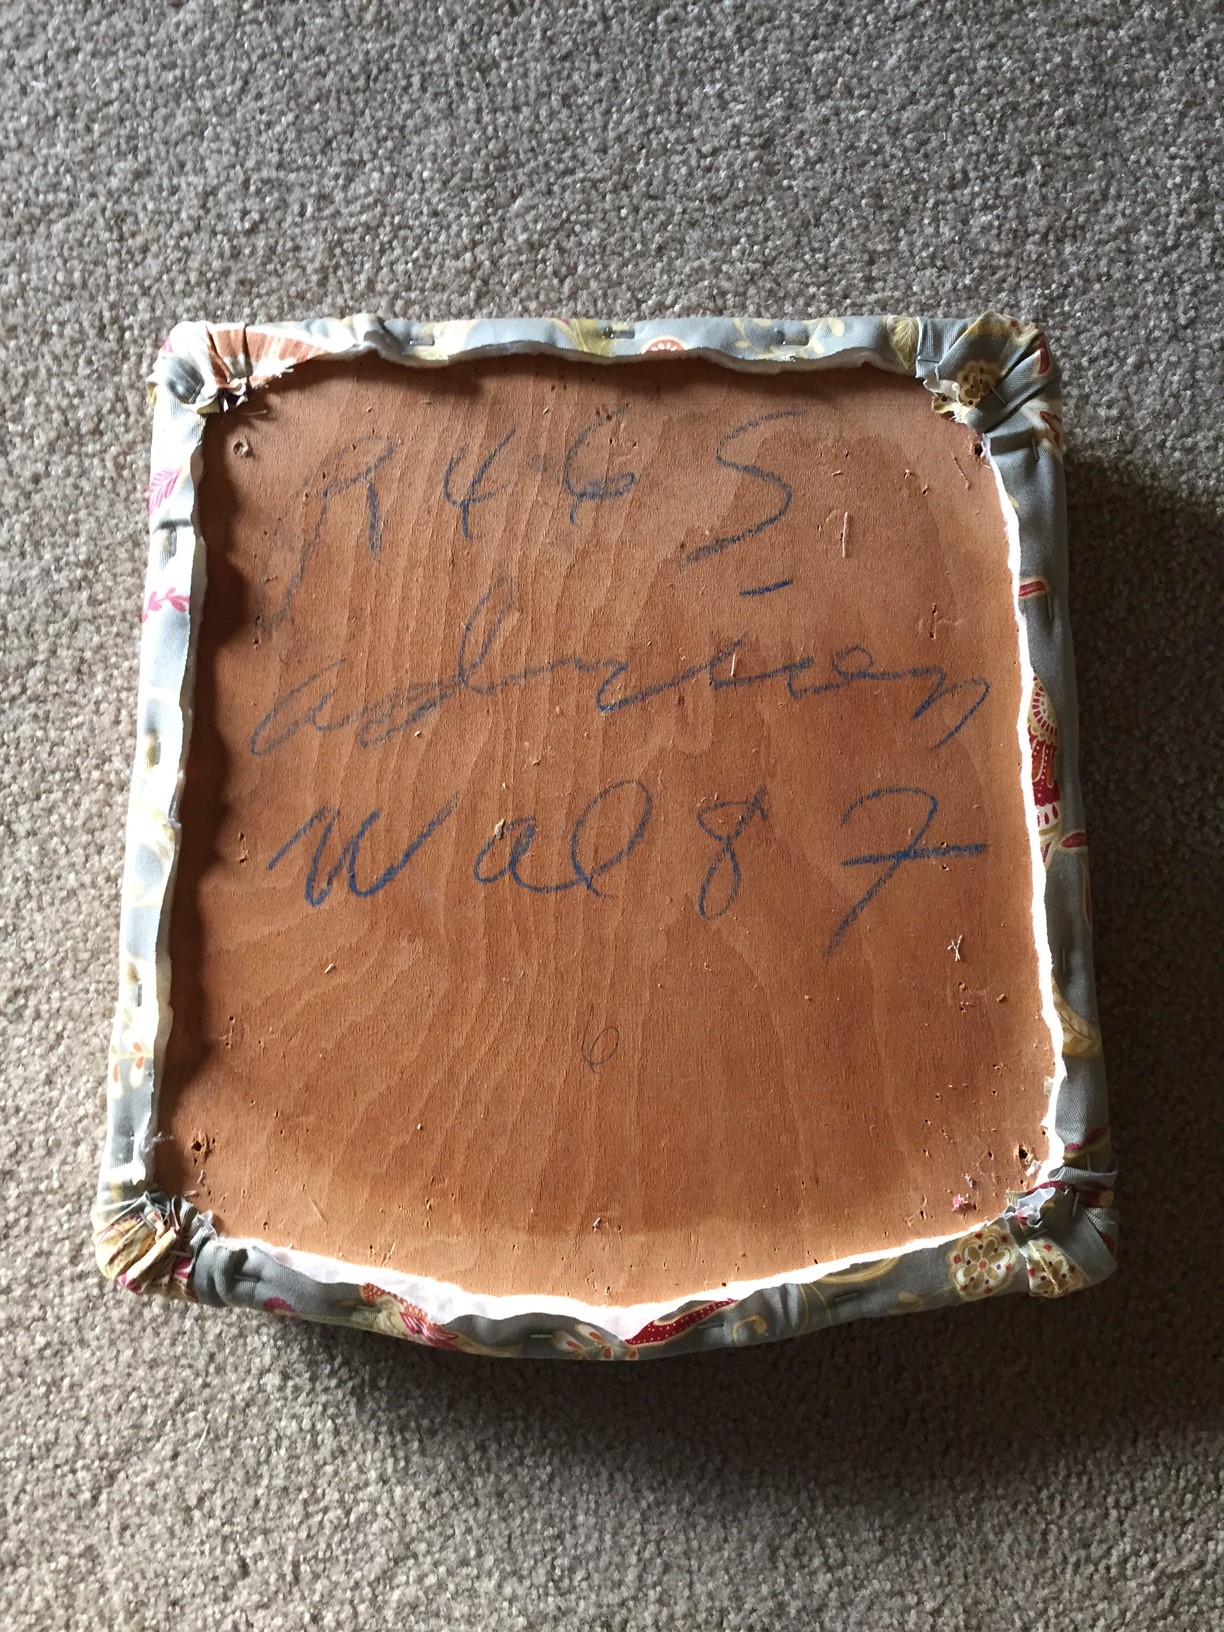
Phase 2 of my transformation of my American Federal chairs to French Country Chic was to reupholster. I had already unscrewed all the seats from the frames when I painted, and numbered them so that I could match them back up later so that the screw holes would still match up perfectly. Next I took a staple remover and a pair of needle-nose pliers and pulling out all the staples from the underside of the seats.
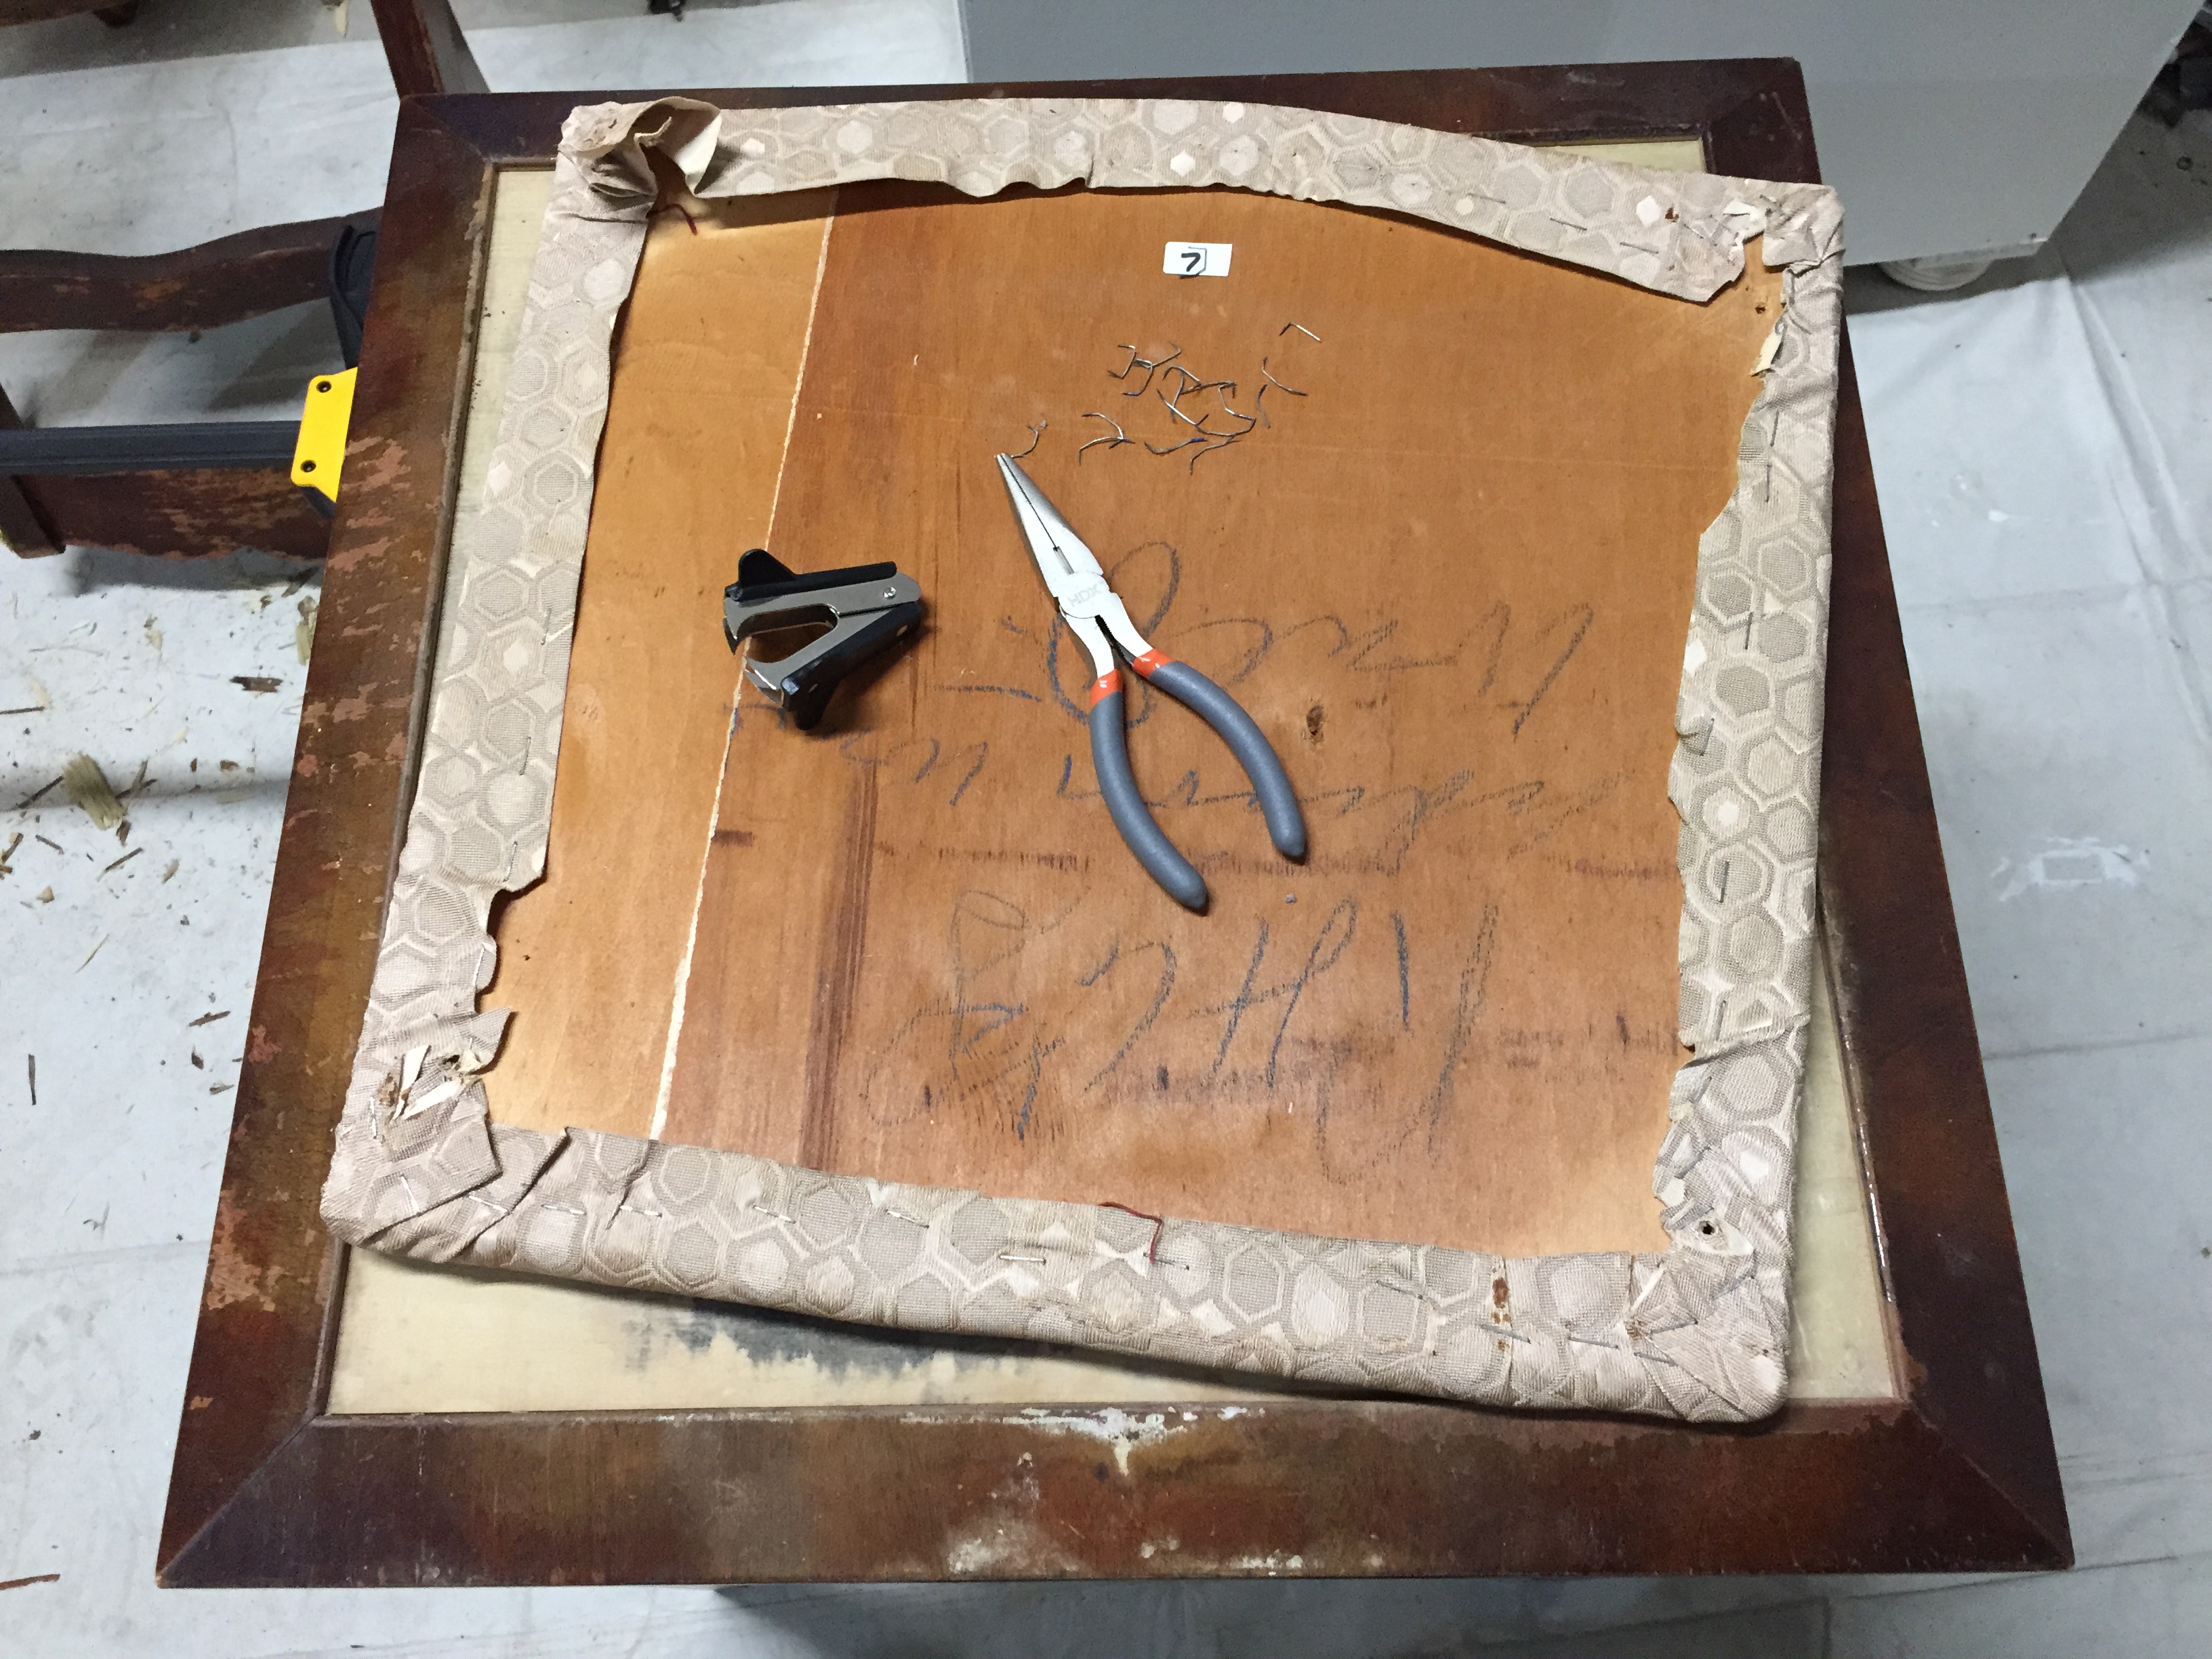
Underneath the fabric was what looked like natural cotton batting. I was still in really good shape, not dirty or torn, except that it was pretty flattened.
 I knew I wanted more padding, so I picked up a sheet of 2″ foam and batting at the fabric store. From that I learned two things:
- Don’t buy upholstery foam at the fabric store. It’s WAY cheaper on Amazon.
- Not all chairs need 2″ foam. On such a low profile chair, it looked too tall.
So, I ordered 1″ foam from Amazon. I neglected to take pictures of the next step, but here’s what I did.
- Traced the seats onto the foam sheet
- Cut the shapes out using an electric carving knife – the kind you use to carve your Thanksgiving turkey
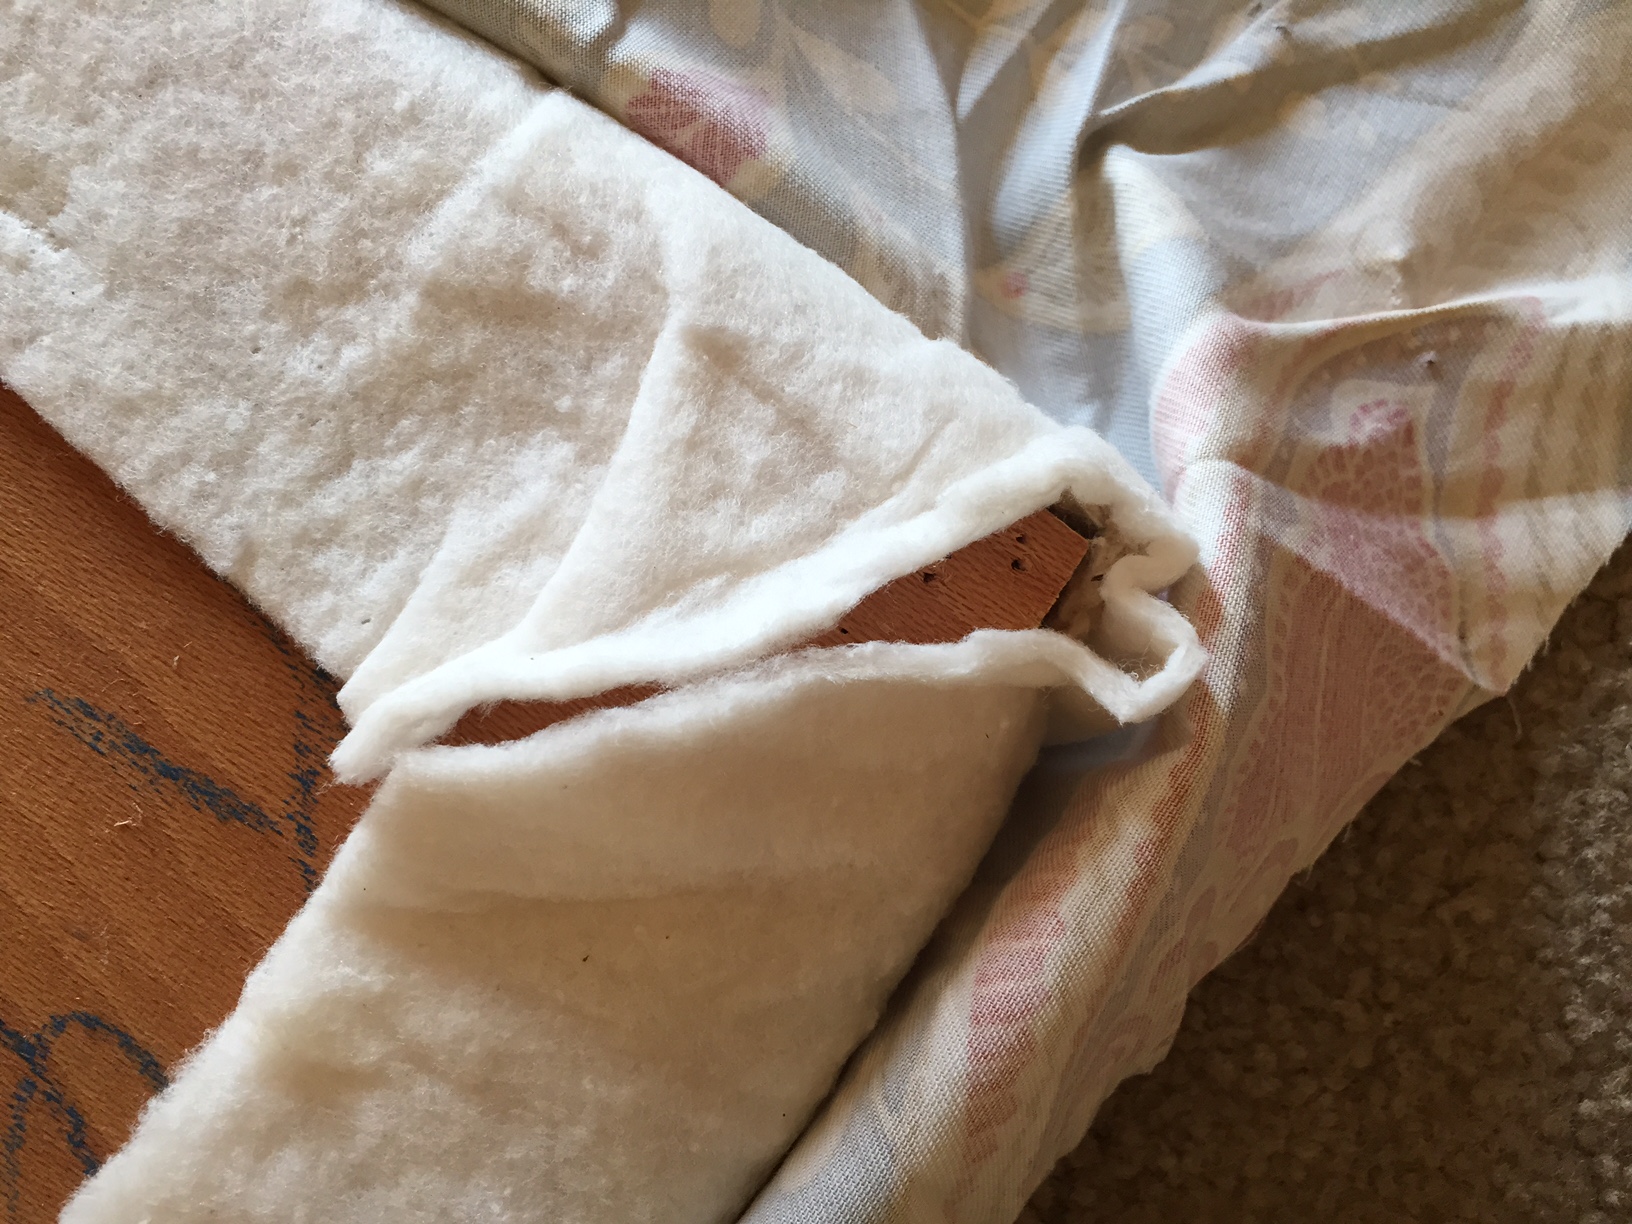
- Sandwiched the foam between the original batting, which I kept to ensure that you couldn’t feel the edges of the wood seat, and the new batting, which I added to help round out the edges of the foam.
The first time I stapled down the new padding and upholstery, I forgot to take pictures, which was just as well because I ended up having to redo that step because there was too much fabric and batting bunched up underneath when I tried to screw the seats back onto the chair frames. So what follows are pictures of my second attempt, which turned out great!
I needed to minimize the amount of fabric and batting under the seats, so I trimmed out the corners of the batting first.
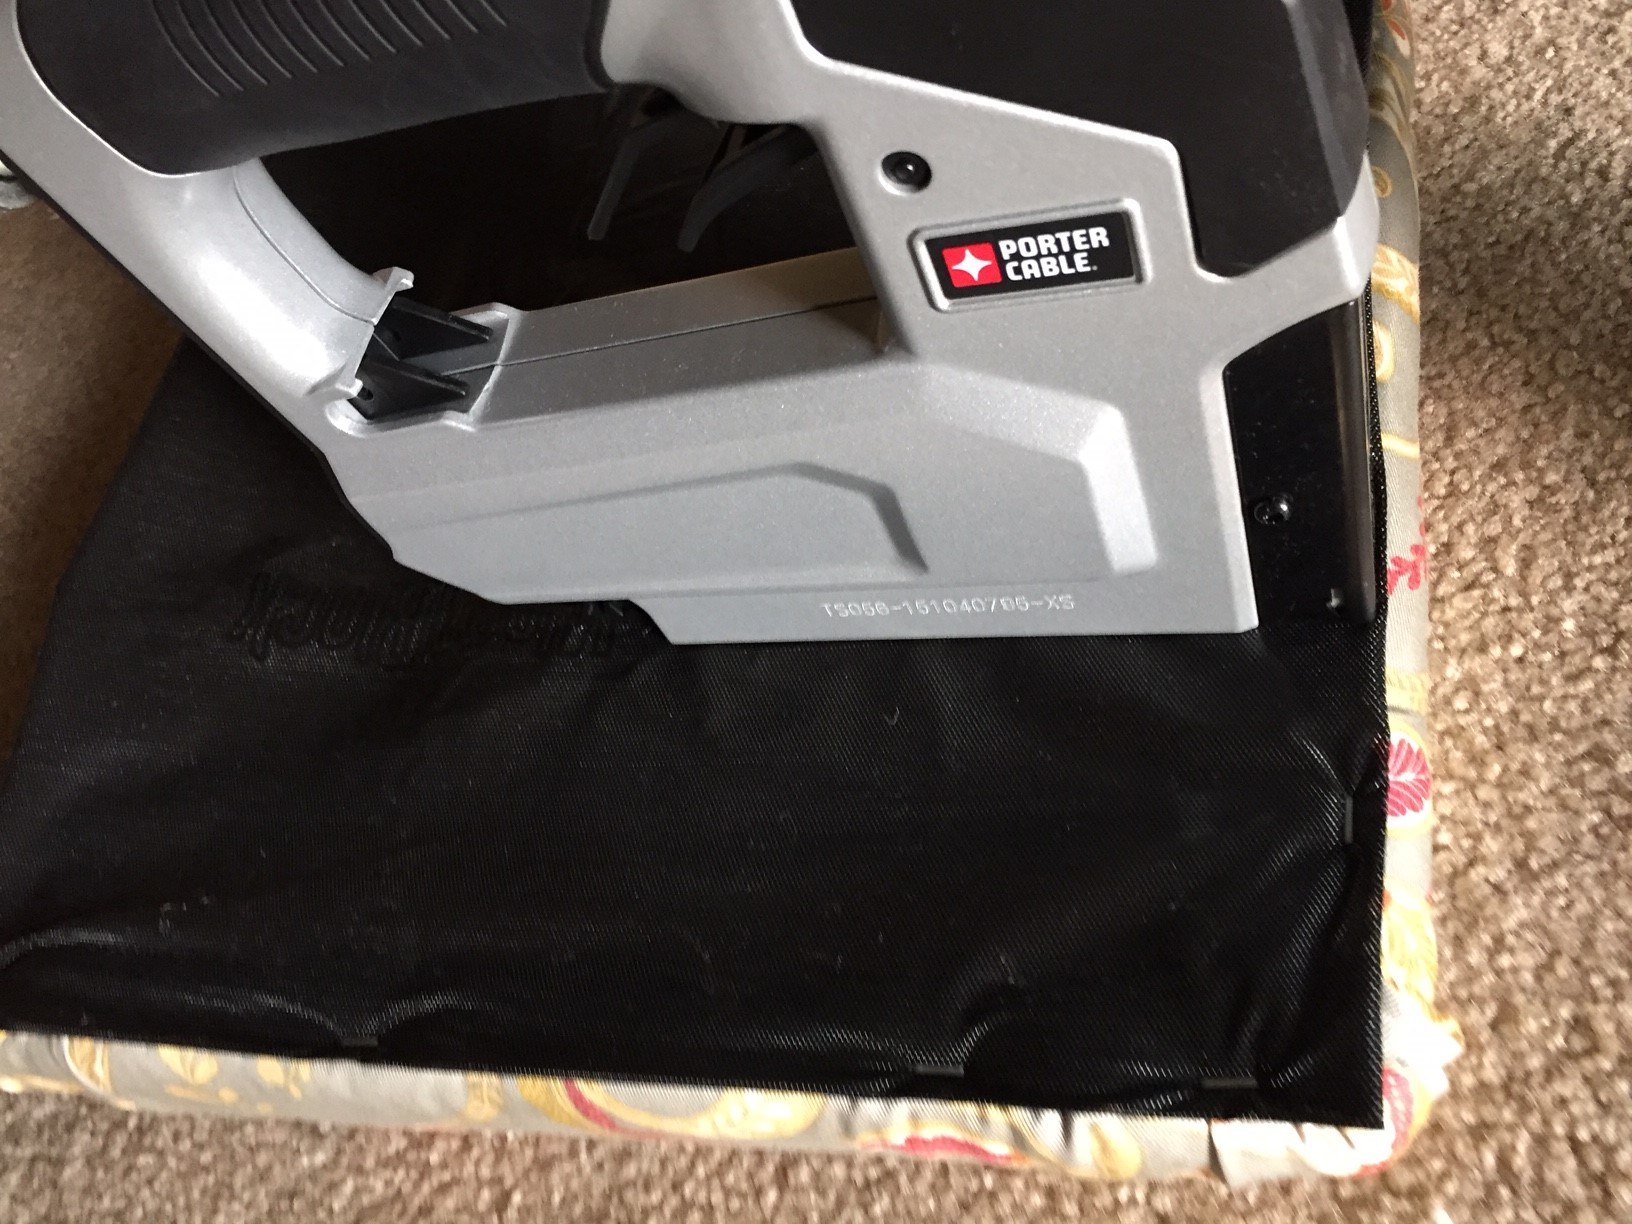
 Then, using a pneumatic staple gun which really speeds things up because they go all the way in every time, I put one staple in each side near the edge of the seat, making sure that I didn’t pull the fabric off-center since I had an image in the fabric that was centered on the chair. That would also be important with other patterned fabric so that it wouldn’t look crooked when the seats were flipped over.
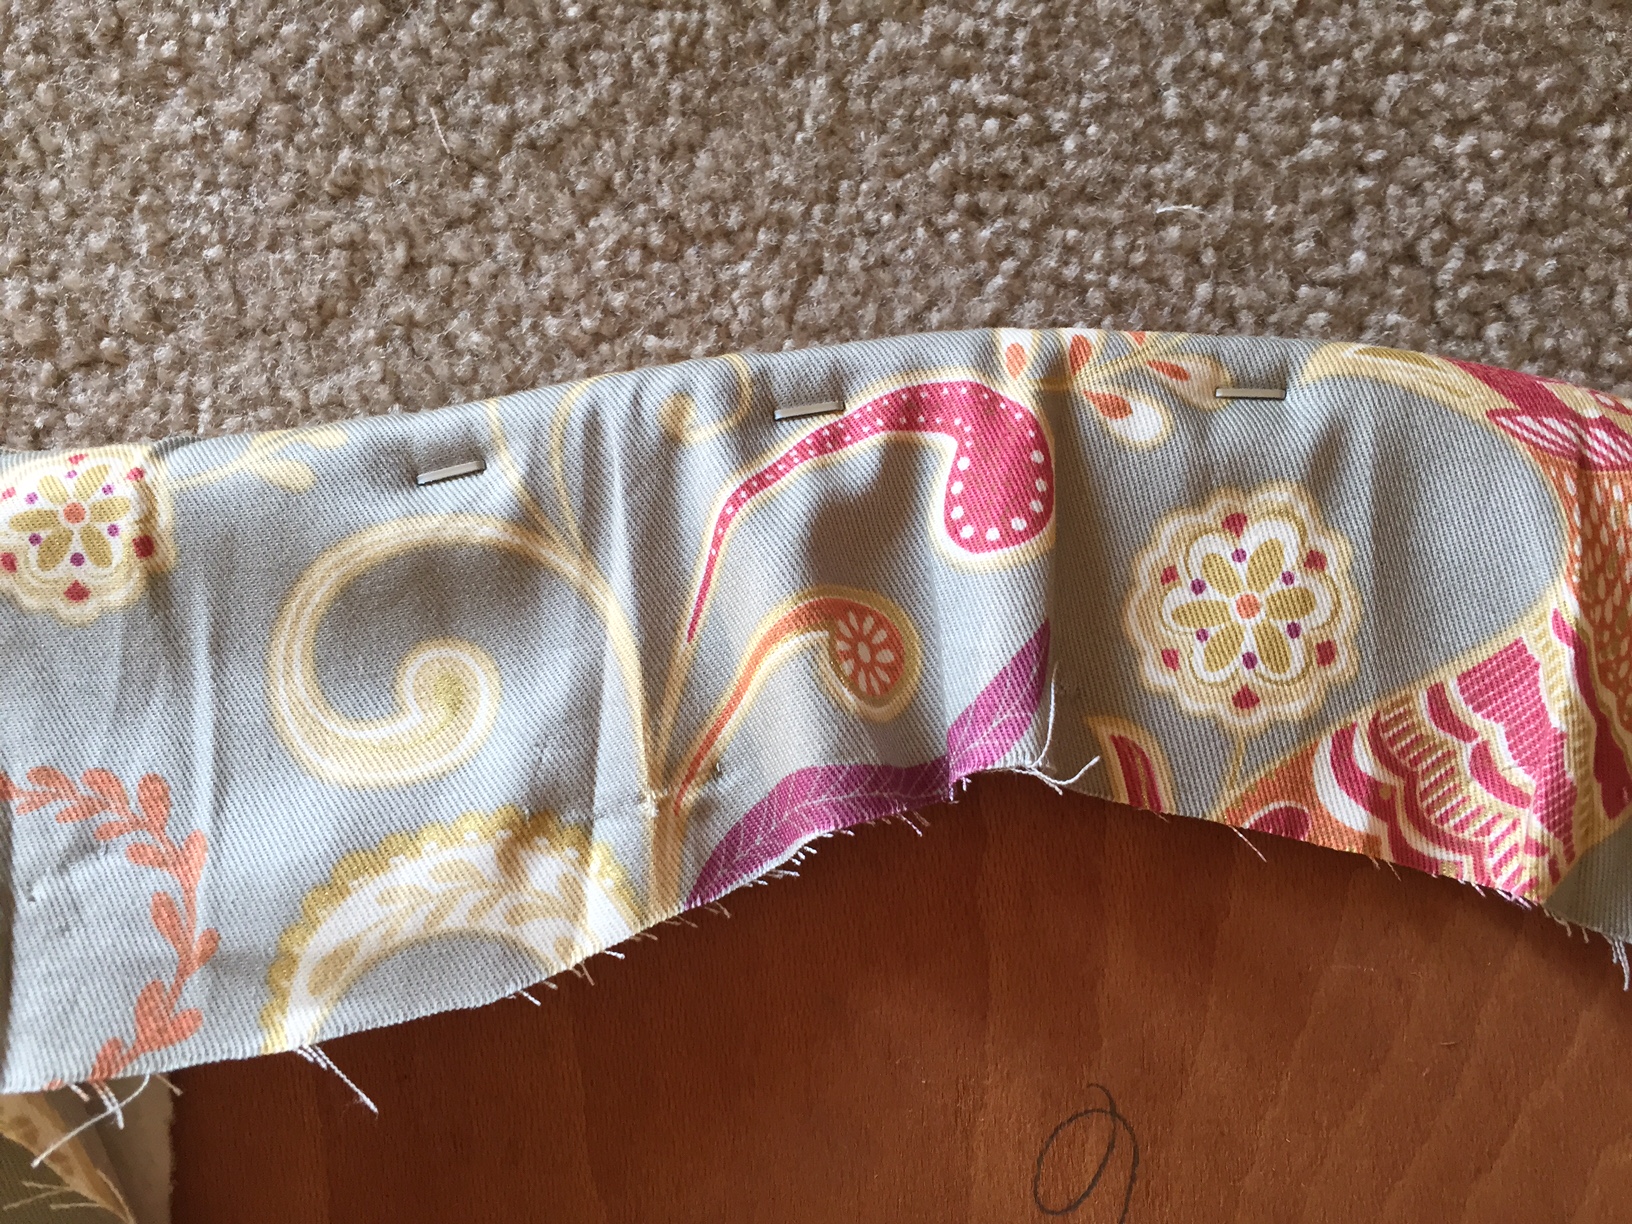
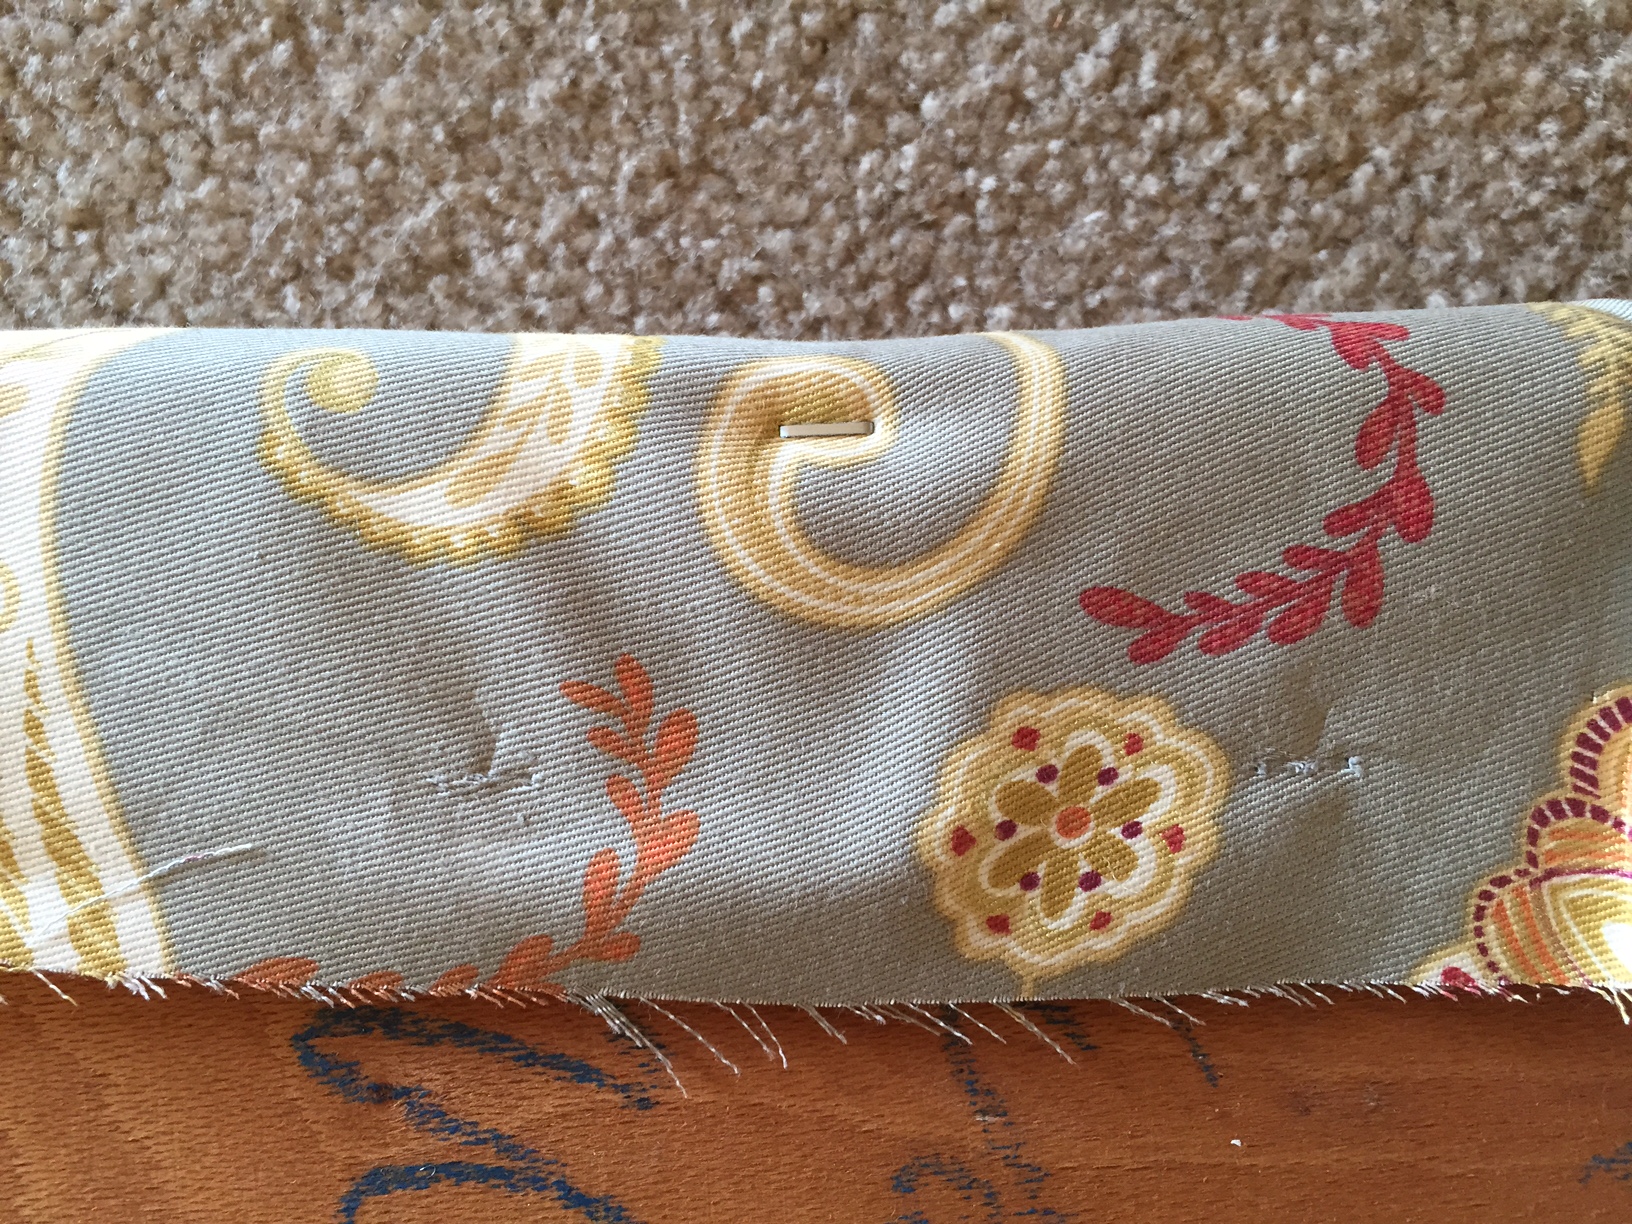 I stapled close to the edge all the way along each side, about 2″ apart.
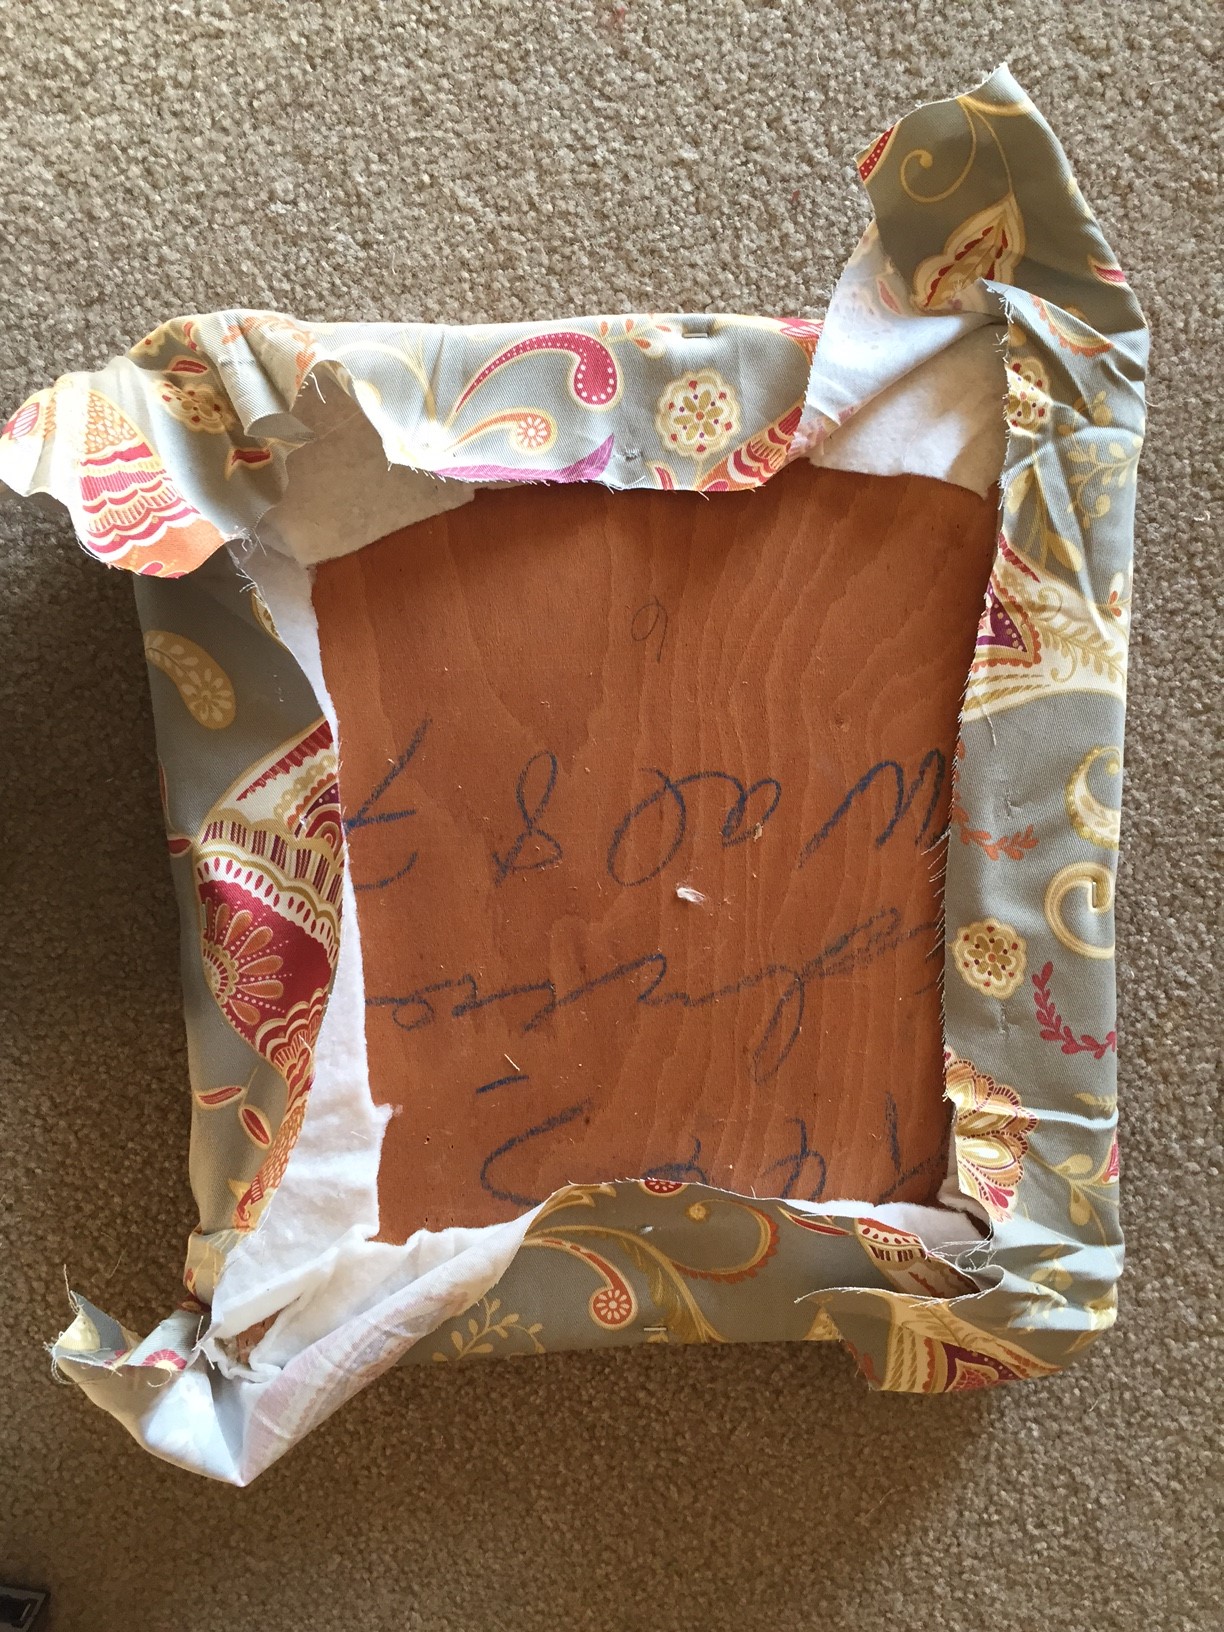
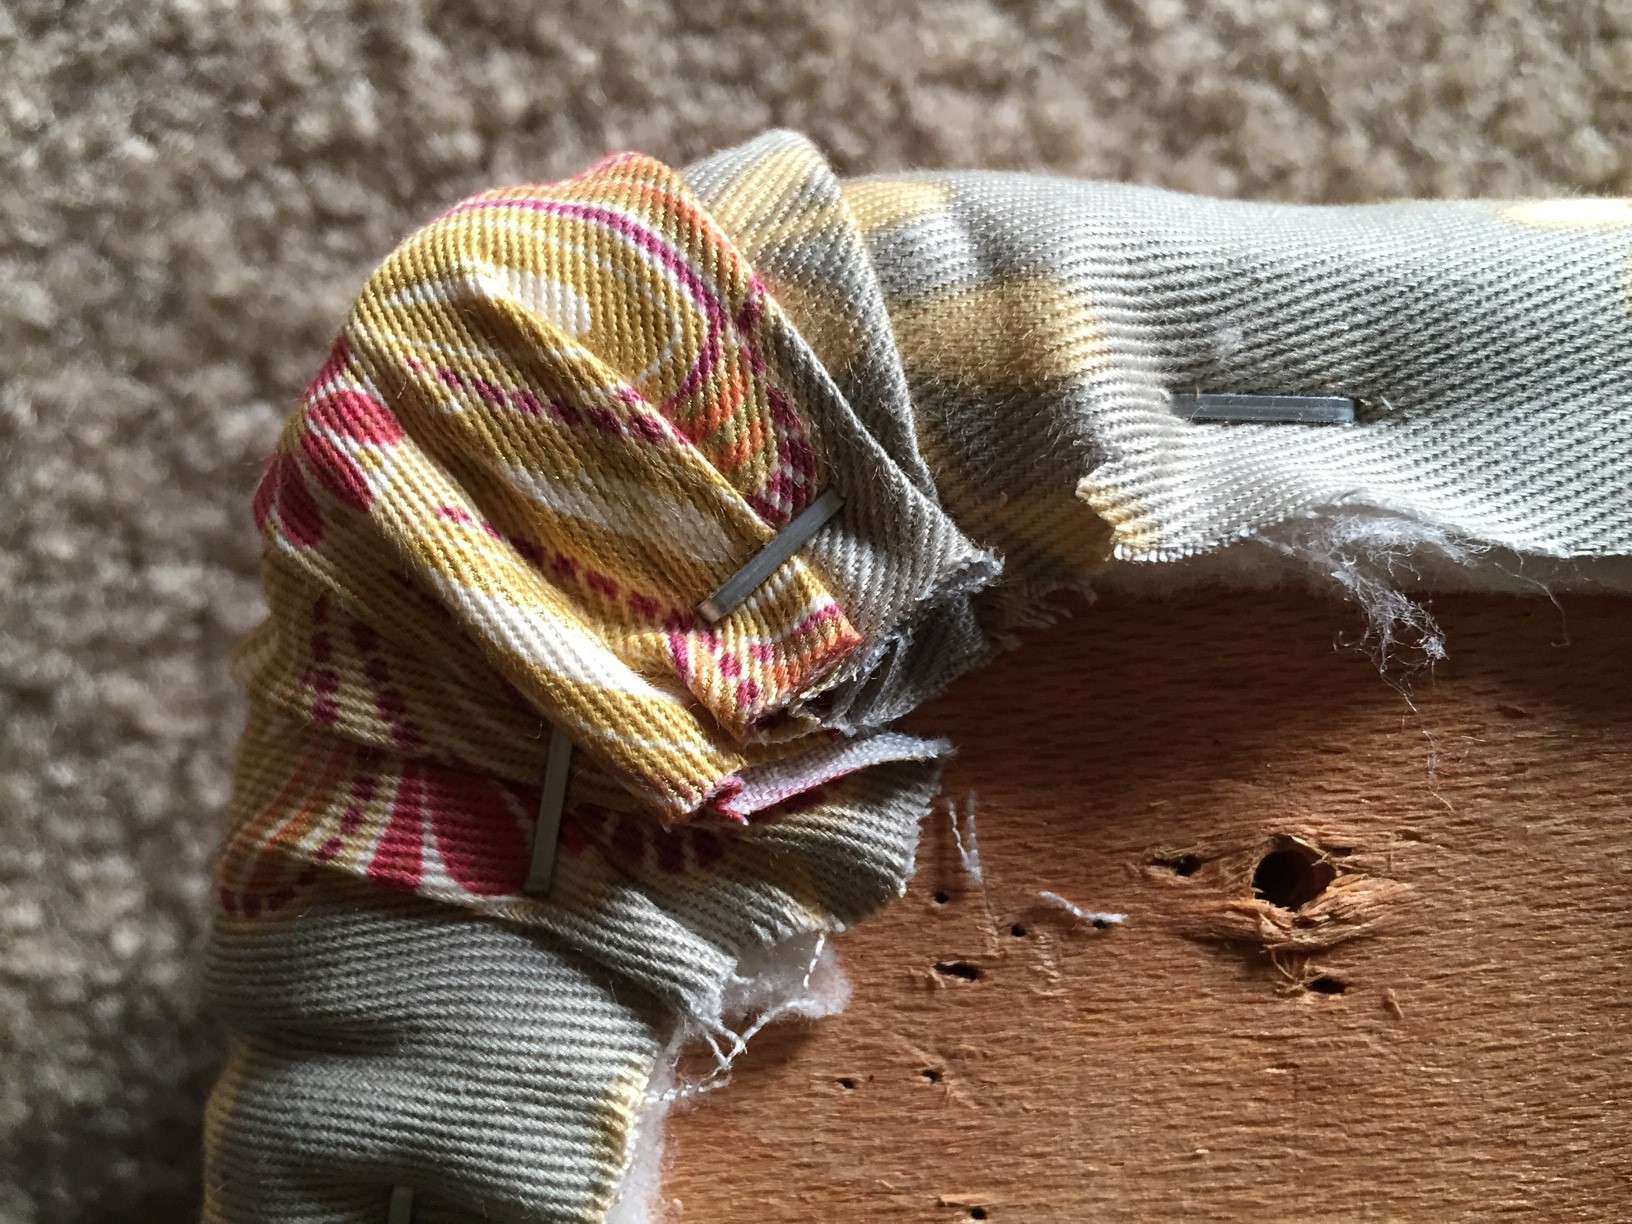
I trimmed the corners of the fabric similar to how I trimmed the batting.
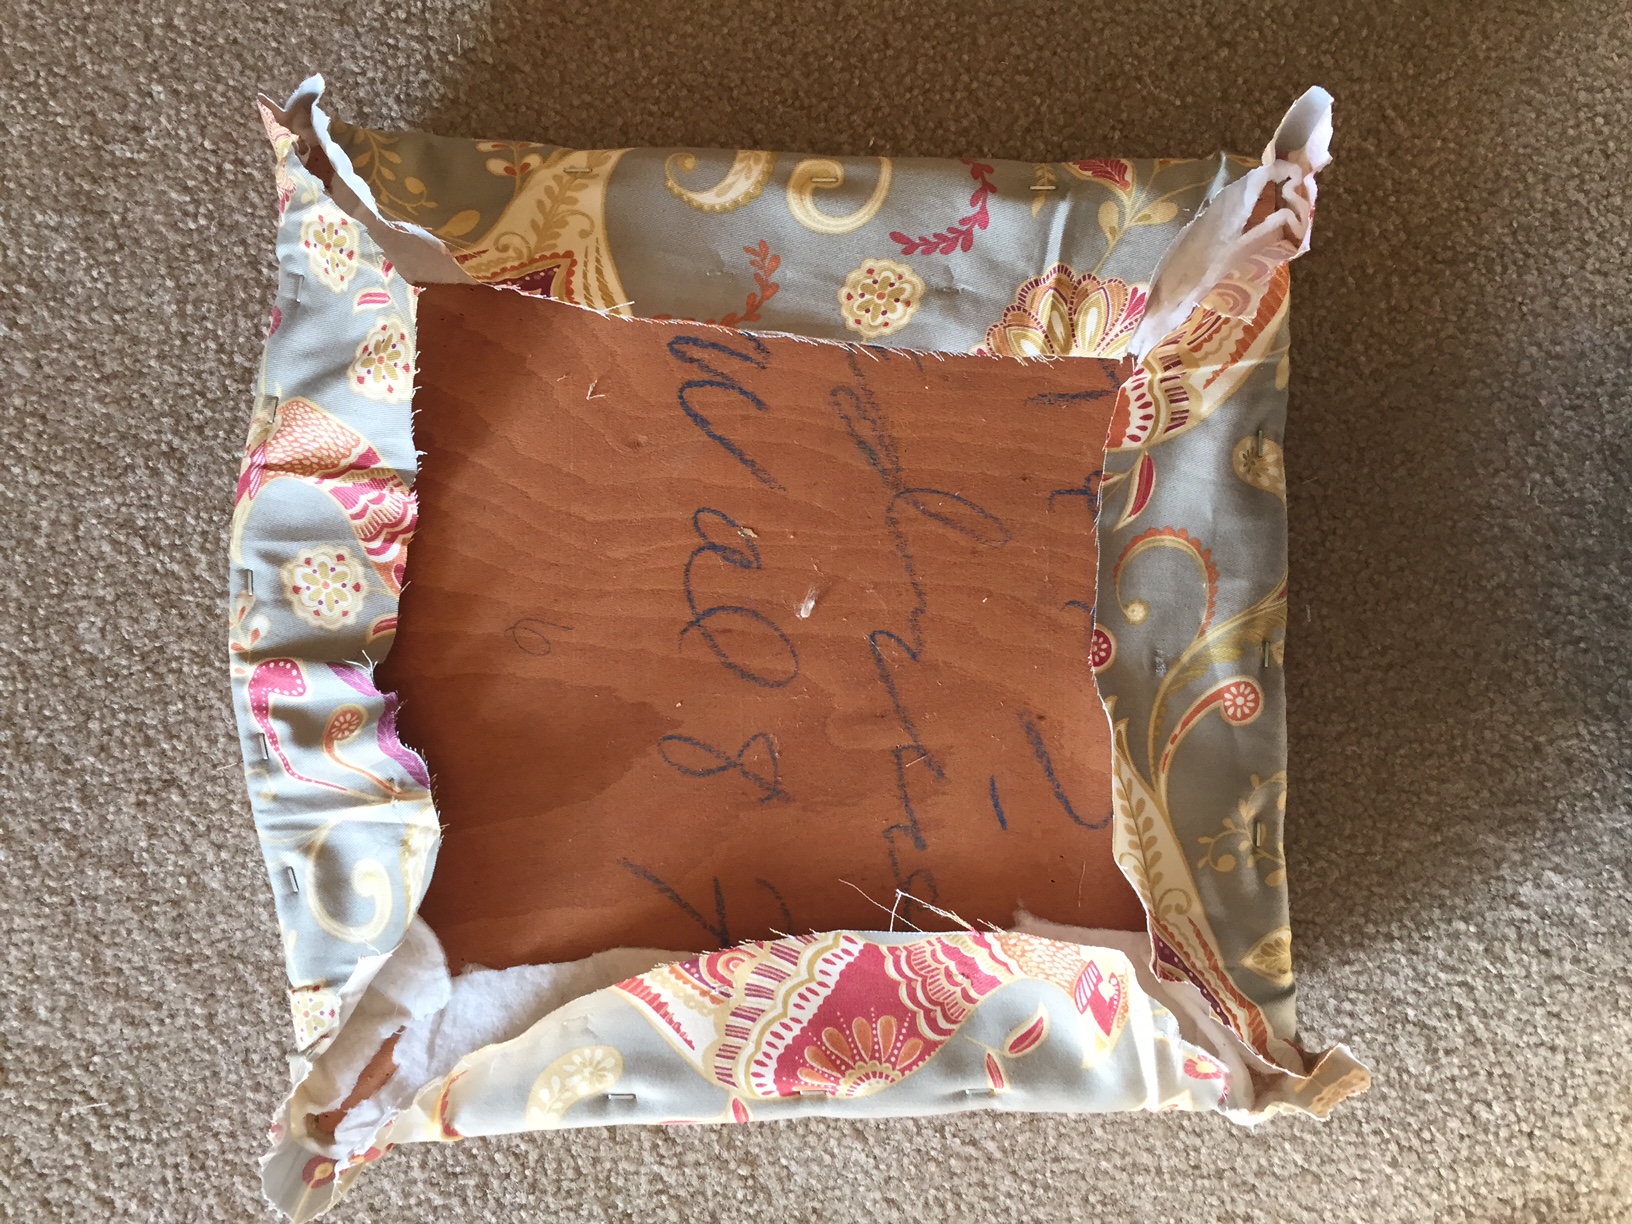
And I trimmed the excess fabric all the way around and stapled the corners. I could have used a hospital corner type of single pleat but the seat had some curves in the front that weren’t very conducive to that approach. So I did more of a gathered corner that created many small pleats versus one (“hospital corner”) or two (butterfly pleat). Where needed, I then trimmed just a little more fabric to keep the screw holes clear.
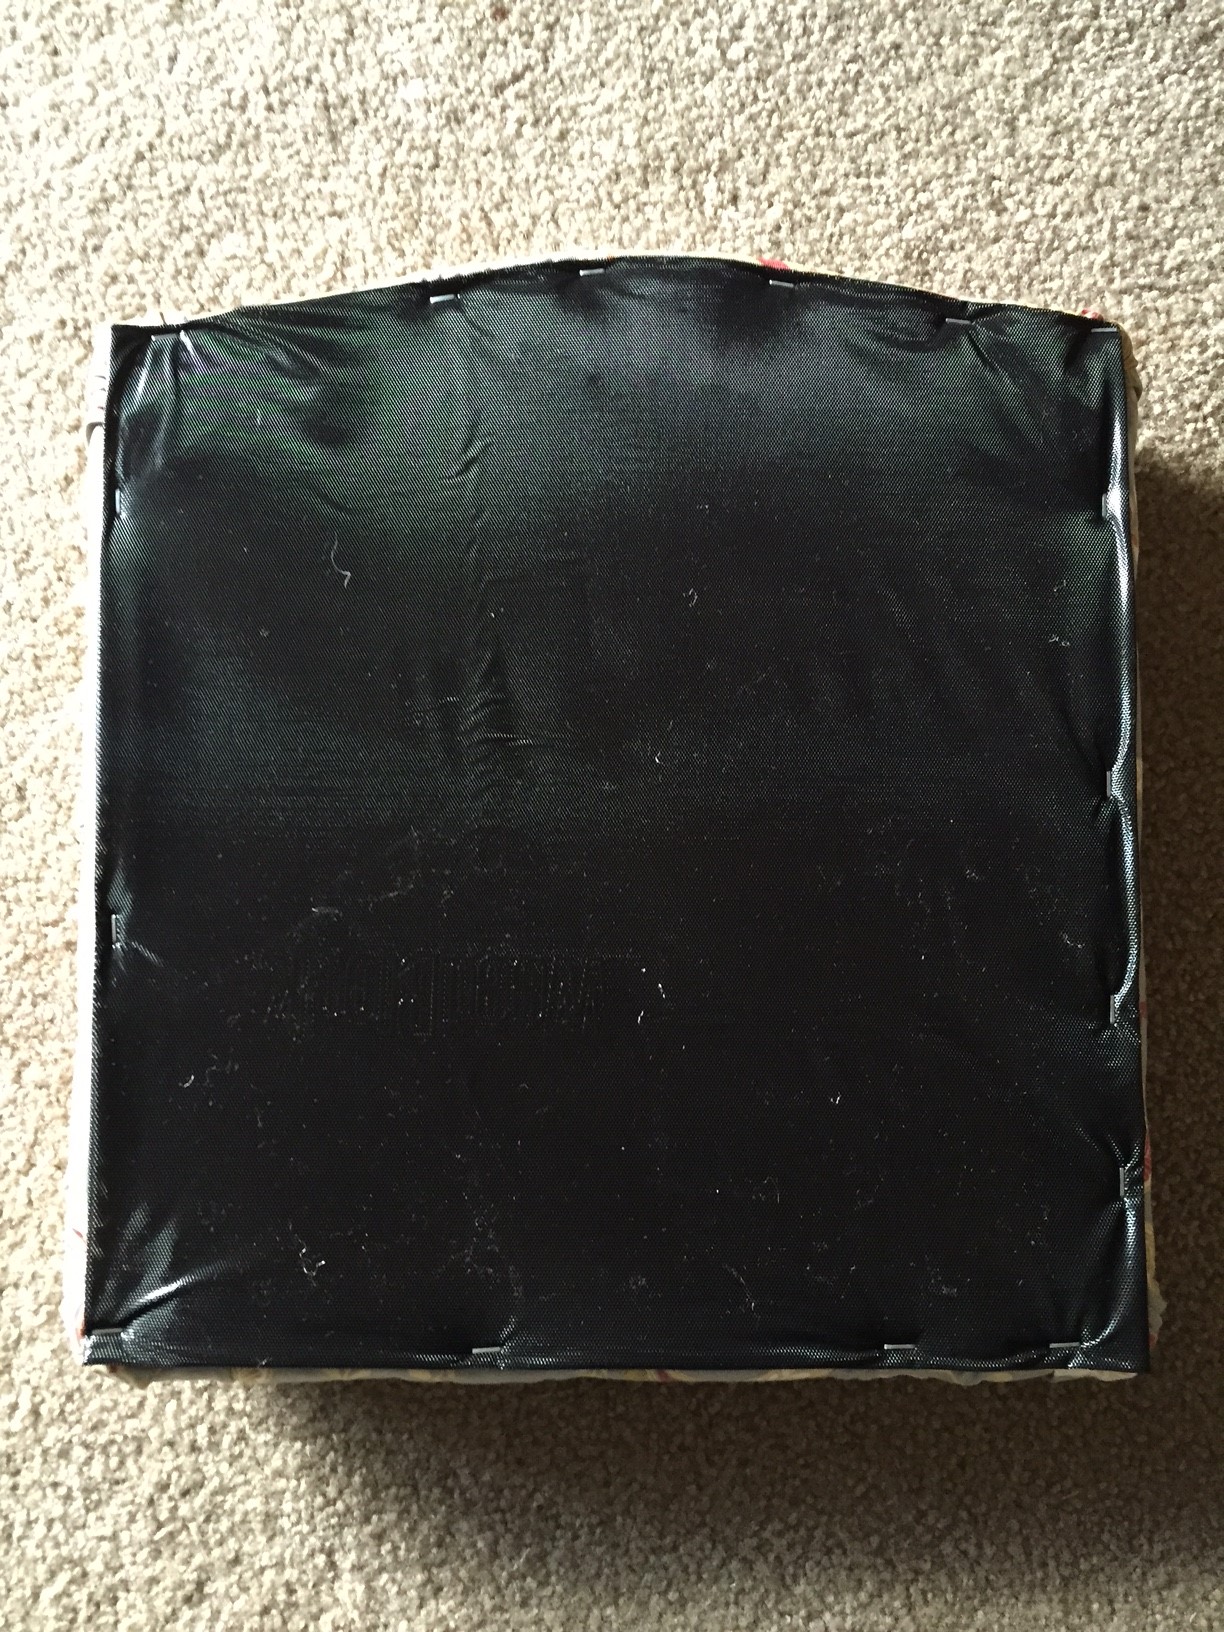
Lastly, I stapled landscape fabric underneath. It’s inexpensive and really created a nice, professional finished look.
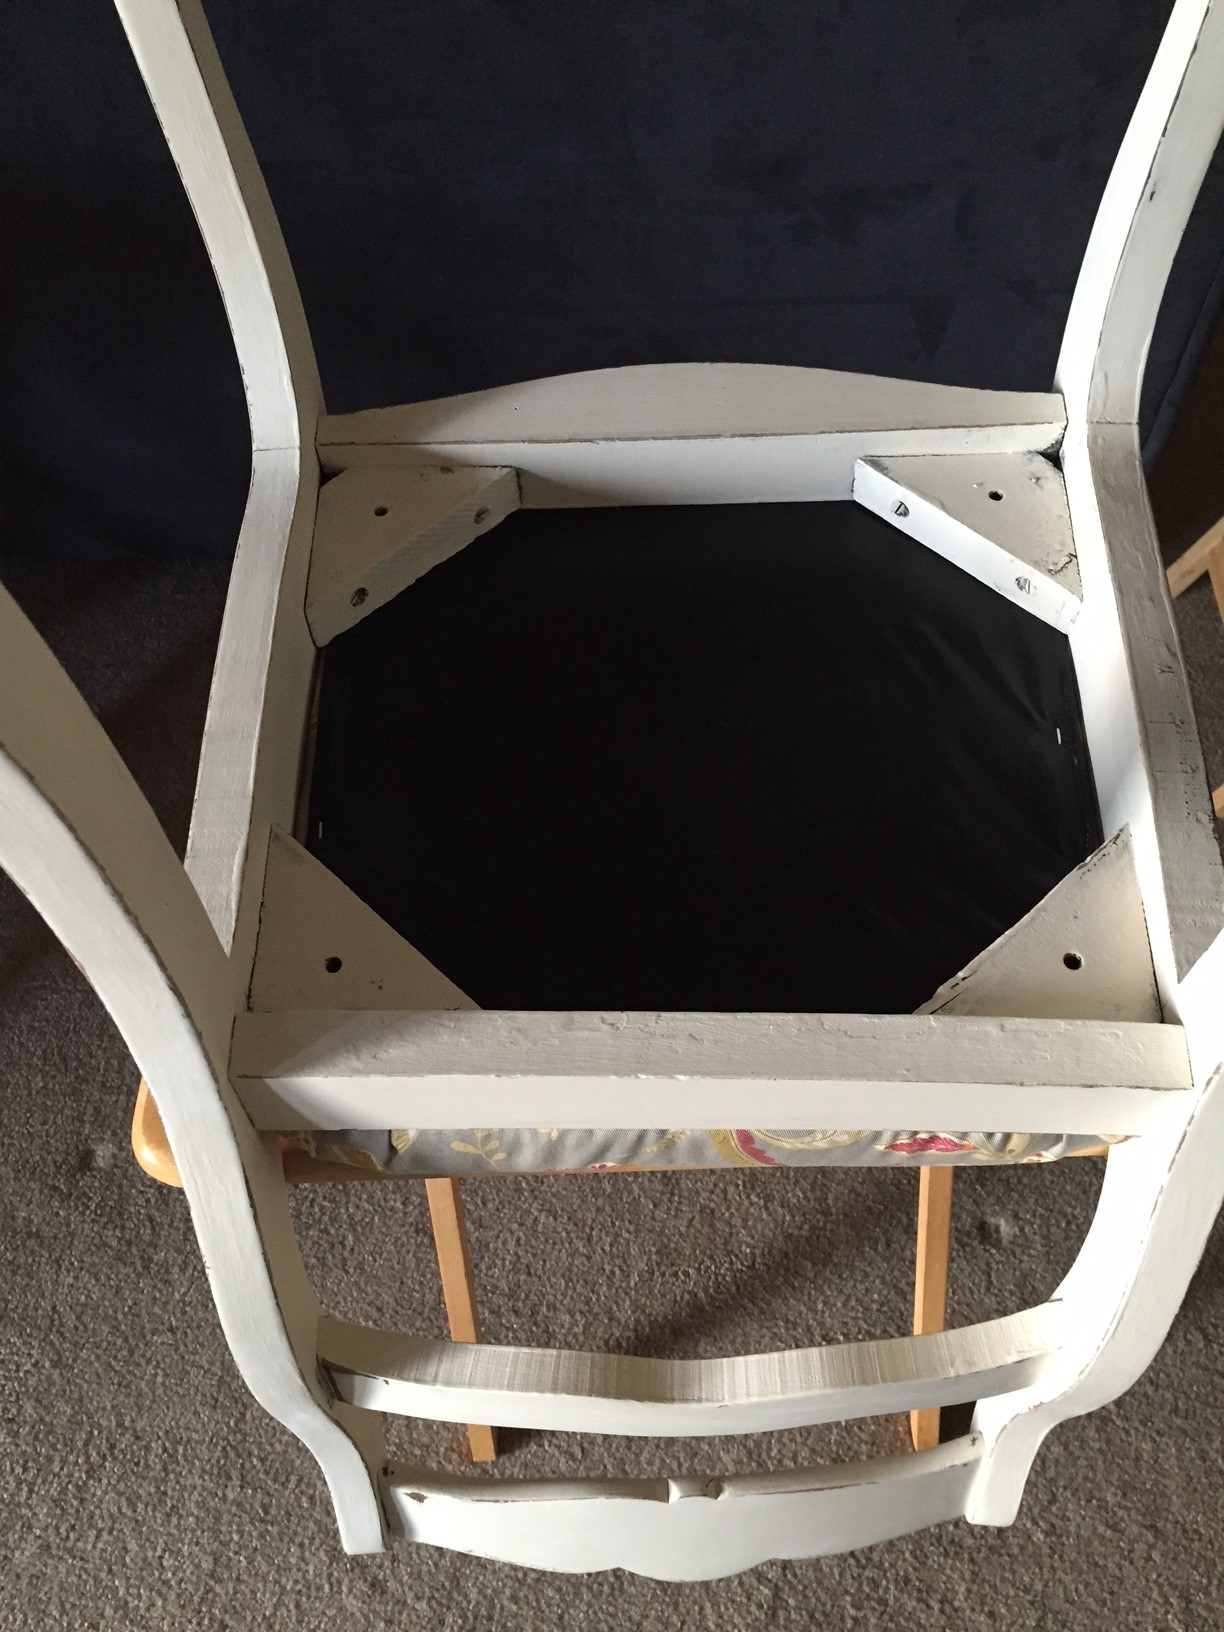 So there you have it! Here’s the finished product.
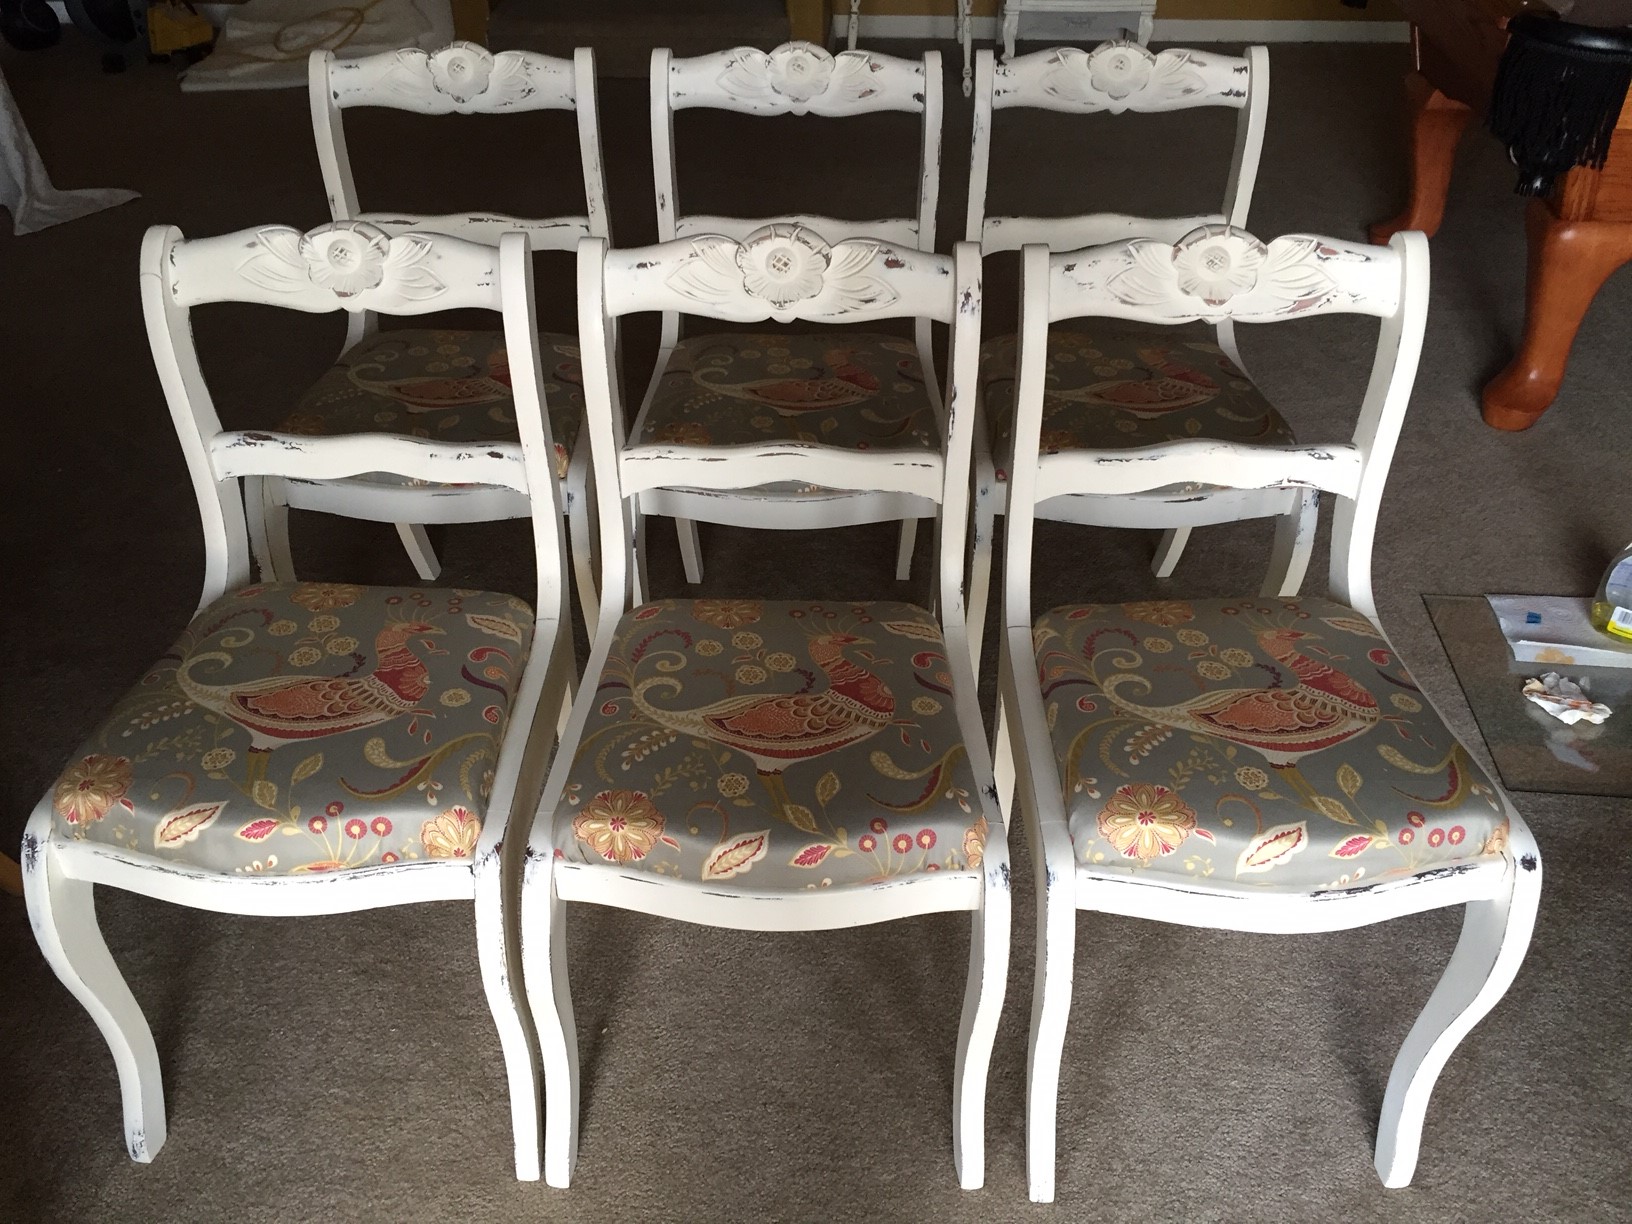
Chic French Country chairs to go with my Phase 3 project – the 7-leaf Duncan Phyfe drop leaf table…
One Response
Painting and Distressing Duncan Phyfe Chairs | One Woman's Trash is Another Woman's Treasure
[…] Next it was on to reupholstering… […]